Doorbell Camera Placement: 7 Spots That Catch More of Your Porch
Most doorbell cameras fail for a boring reason: they're aimed at the sky. A unit mounted at the same height as the old peephole sees clouds, a strip of street and the top of a courier's cap, while the parcel on the mat sits an inch below the frame. Placement is the cheapest upgrade your porch will ever get. Before the drill comes out, walk your entry the way a delivery driver does, then decide where the lens actually needs to live.
Height First, Then Everything Else
Start at about four feet from the ground — roughly chest height on an average adult. That height catches faces as people climb the steps, keeps the lens out of easy reach and still shows the ground where packages land. Mount it much higher and you get hat brims and hairlines; mount it much lower and shoulders fill the frame.
Two adjustments matter more than the exact number. Avoid mounting on a door that swings, because vibration from a slam produces blurry clips and slowly loosens the bracket. And keep the camera a hand's width away from the door trim so the lens isn't fighting the frame for the same slice of view.
When to break the four-foot rule
Steps change the maths. If your door sits three risers up, measure from the landing rather than the sidewalk, or drop the unit slightly lower than usual so it still looks into faces instead of over them. On a sloped walkway, mount on the downhill side of the frame. If someone in the household uses a wheelchair or is shorter than average, set height and tilt with them in the picture rather than as an afterthought.
Seven Spots That Cover More Porch
These are the placements that consistently catch more of the entry. None is universally best — pick the one that suits your wiring, your sun exposure and the shape of your porch.
- Latch side of the door frame, at chest height. The default for good reason: usually wired, centred on the approach, and looking straight at faces.
- Wall beside the door, six to ten inches out. A small offset widens the view and keeps part of the door in frame, which helps when someone stands sideways to talk.
- The perpendicular side wall. Aiming along the porch instead of at the street captures the whole walk-up, including the moment a visitor bends down for a parcel.
- Opposite the door, facing back. A garage wall or porch post across the entry gives an unobstructed face shot and shows the door opening — useful where the doorway is deeply recessed.
- Above the top step. Looking down the stair run turns a narrow slice of walkway into a full approach shot.
- Under the overhang, at a corner. The widest view available, though usually the worst for glare and the furthest from the doorbell wiring.
- On the path between driveway and door. If visitors pass a side window or planter to reach you, a second camera closes the gap the door-mounted unit cannot see.
Aim Down, Not Out
A downward tilt of roughly 20 to 30 degrees is usually right. The goal is for the lens to meet a visitor's face at six to eight feet out — early enough for a clear look, close enough that the face isn't a smudge. Point it flat at the horizon and half the frame becomes sky; point it too far down and you film shoes.
Judging the tilt from a phone screen while standing on the step is unreliable. Do it properly: open the live view, have someone of average height walk up, then repeat with a shorter person. Adjust once, tighten the screw, and check again a week later — many mounts sag a few degrees after settling.
Cut the Glare Before It Cuts Your Footage
Glare is the quiet killer of porch footage. Three common sources, all fixable:
- Direct sun. A west-facing porch washes out in late afternoon. Shade the lens with the overhang or a small hood, or accept that evening clips will be softer than morning ones.
- Nearby walls and glass. Night vision infrared bounces off anything within a foot or two of the lens, producing a bright white haze. A glass storm door in frame does the same. Move the unit out from the wall or angle it away from reflective surfaces.
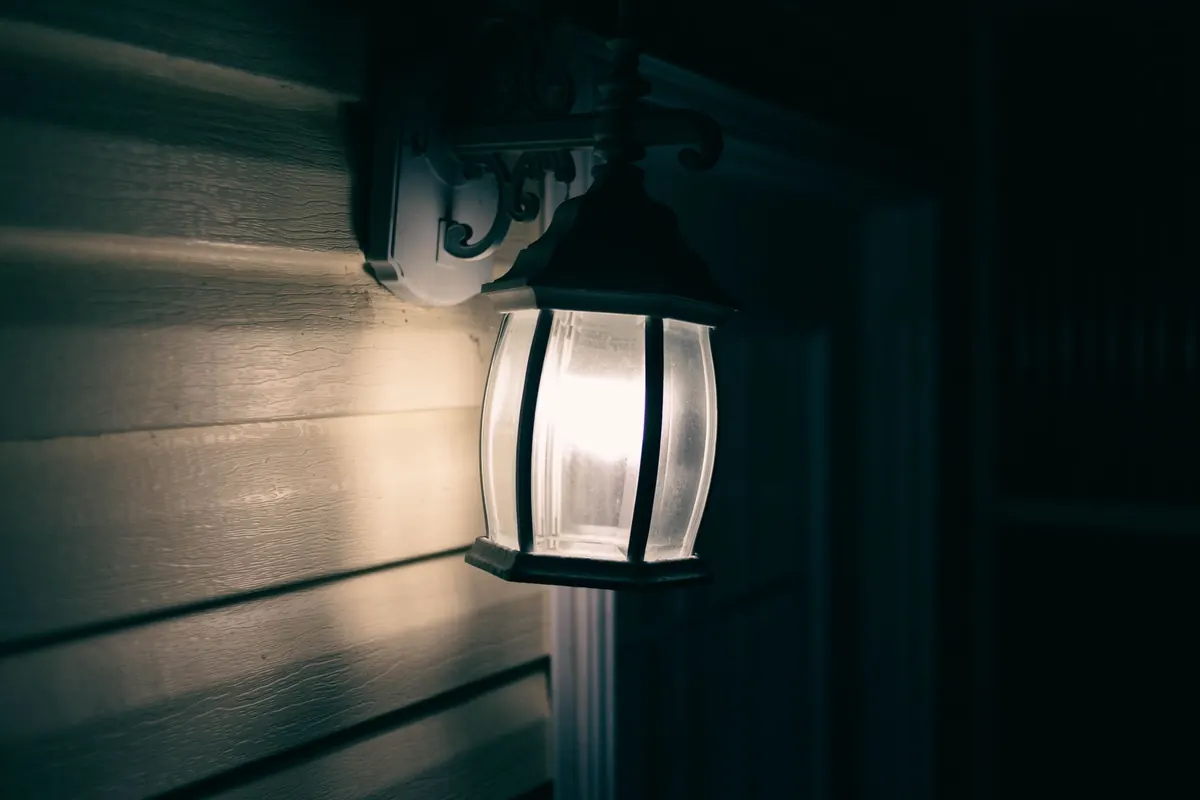
- Porch lights. A bulb just above and beside the camera throws a halo across the picture. Shift the light lower and off to one side so it lights the visitor rather than the lens.
Wreaths, hanging plants and shiny house numbers cause the same trouble. Anything close to the lens becomes a bright smear after dark.
The Blind Spots Worth Checking
Every porch has a dead strip. Stand where the camera is going and note what the lens can't reach: the ground immediately beneath it, the hinge side of the door, the space behind a storm door, and whatever the open door itself hides. The package drop matters most — if boxes land under the mount, they never appear on camera.
A tidy fix is to nudge the unit eight to twelve inches sideways so the mat falls inside the diagonal view rather than directly below. If that isn't possible, a second angle from the opposite wall solves it, and a small wedge mount can tilt the lens a few degrees further down without touching the wiring.
Test Before You Drill
Hold the camera in position with tape or a temporary mount and run the live view for a full day. Watch the morning and evening light, check the Wi-Fi signal at that exact spot, and walk the approach after dark to see how the infrared performs. Then confirm the angle once more with the door open — a camera that only works when the door is closed is half a camera. If you rent, or the building has rules about exterior fixtures, get the answer in writing before making holes. It's one short email.
The Short Version
Chest height, a small offset from the door, a downward tilt that meets faces at six to eight feet, and nothing reflective within arm's reach of the lens. Add a second view if your porch has a step, a corner or a package mat the first camera can't cover. Ten minutes of careful positioning beats any amount of fiddling with settings afterwards, because the footage you end up with will show a person, a face and a parcel — rather than a very well-framed patch of sky.
Photo: Ralf1403 / Pixabay